There are a variety of things entrepreneurs need to consider when trying to set up an online store. Some of them — like developing products and figuring out a marketing plan — can be time-consuming and challenging. But SmartSeller ensures that adding creating an eCommerce website is easy as possibly for any non technical people.
We’re going to show you everything you need to get your store up and running with SmartSeller. If you’re starting from scratch, head to SmartSeller website to create an account.
Sign up for an account at SmartSeller
First of all, you will need to sign up for an account with SmartSeller. Click here to create an online store with SmartSeller.
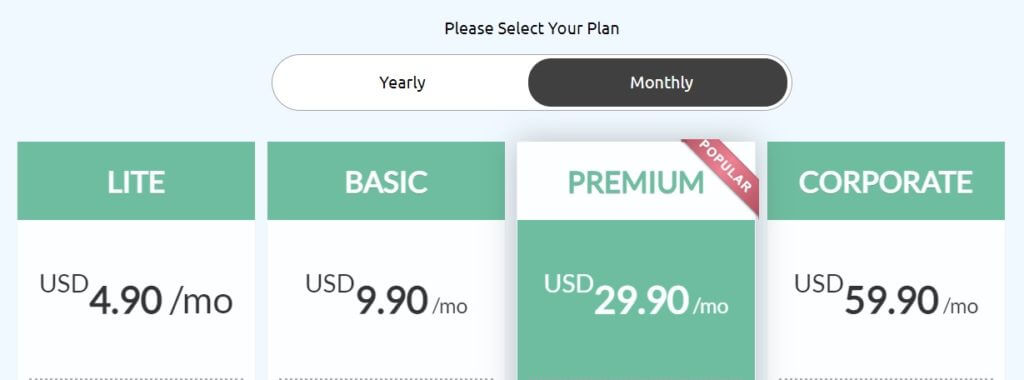
Once you are at SmartSeller website, choose a plan that you prefer. You can always start with the startup plan and upgrade in future when you need to add more products or need more features.
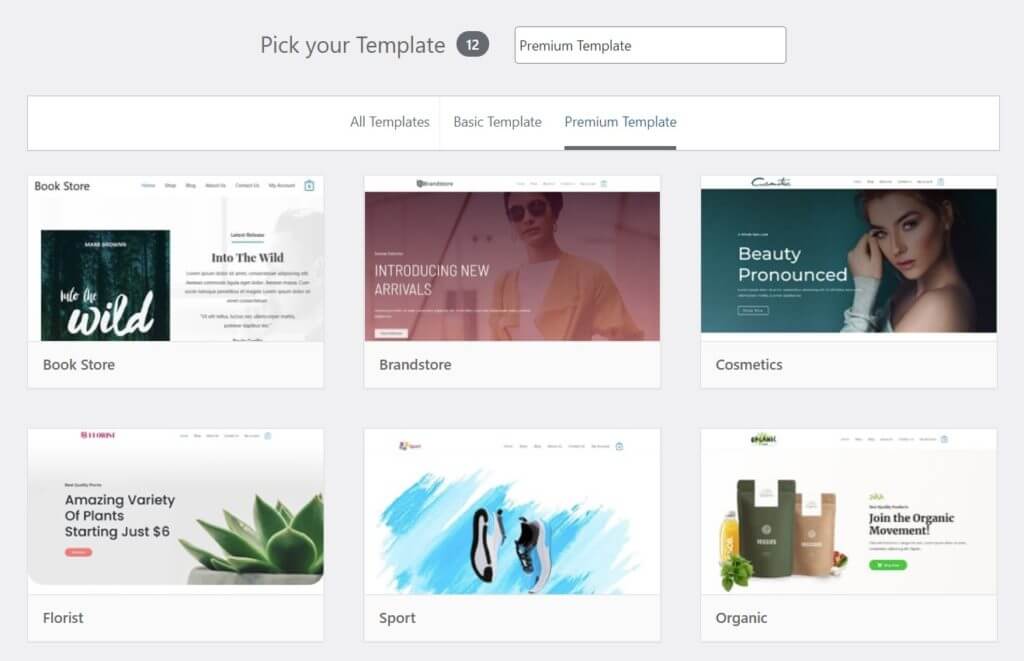
Select your preferred eCommerce template. All the eCommerce templates at SmartSeller are carefully designed for eCommerce and SEO friendly.
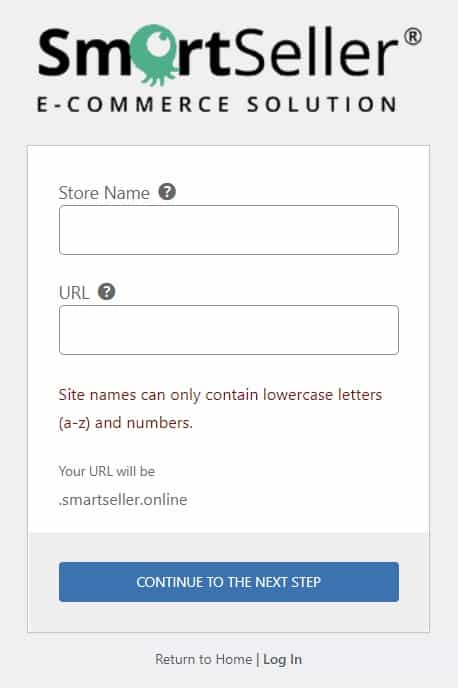
Enter your store details as required:
- Store Name – Enter the name of your online store. Or some people will put their company name for their store name.
- URL – Enter your eCommerce website URL. All plans come with a free subdomain. For example, if you want your URL to be xyzstore, then enter xyzstore. (Do not need to type full url “xyzstore.smartseller.online”).
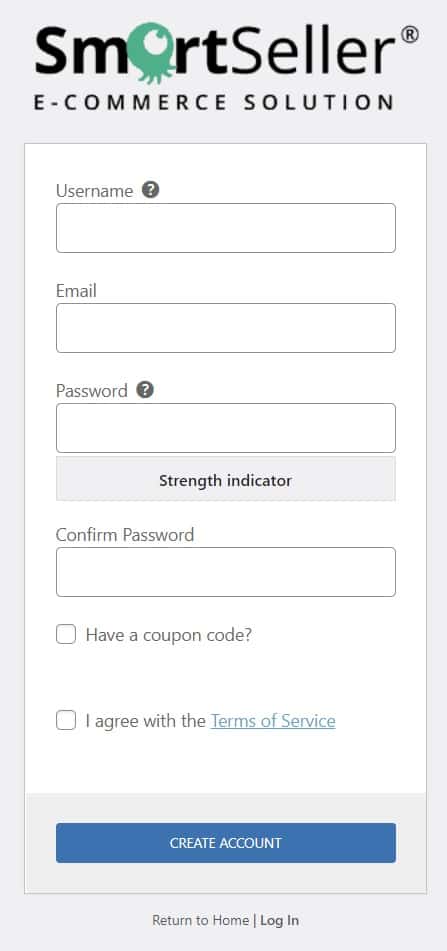
Next, enter your login details:
- Username – Username that you want to use for login to your account.
- Email – Your email address.
- Password – Your password to login to your account at SmartSeller.
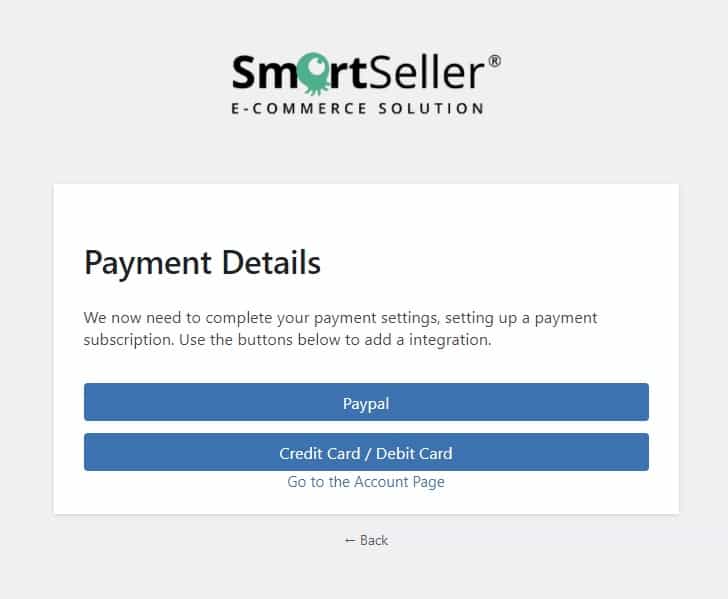
Choose your payment method and enter your payment details.
Add products
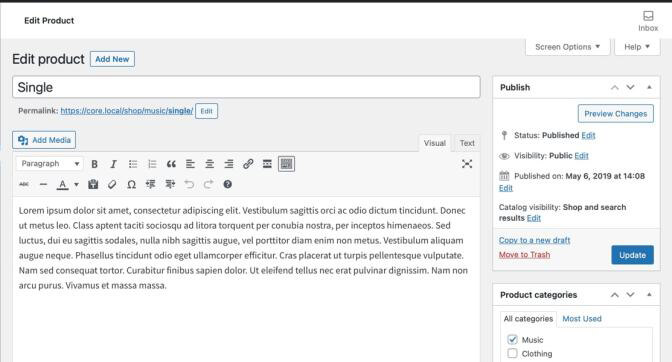
You can go to Product → Add Product in your dashboard menu. There, you can add a product title, description, and photo along with information about pricing, shipping, and more.
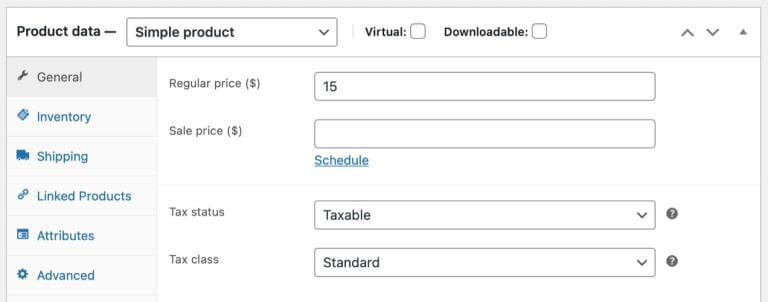
You’ll also need to set a product type. There are a variety of product types, but the most common are simple and variable. Simple products, like a book, don’t have options or choices. Variable products have options that customers can choose from, like a shirt with different sizes and colors.
For further instructions on adding products, check out our documentation.
Set up payments
Go to Online Store → Settings → Payments. You can enable cash payments, check payments, or direct bank transfers. Or, to charge customers online, set up a payment gateway.
A payment gateway securely accepts your customers’ credit card information, validates it, then transfers the money to your bank account. There are a variety of options to choose from — common gateways include PayPal and Stripe.
We do integrate with other payment gateways. You may have a look at what online store payment gateways that SmartSeller is providing.
For further instructions on how to activate other payment gateways, check out our documentation.
Set up tax
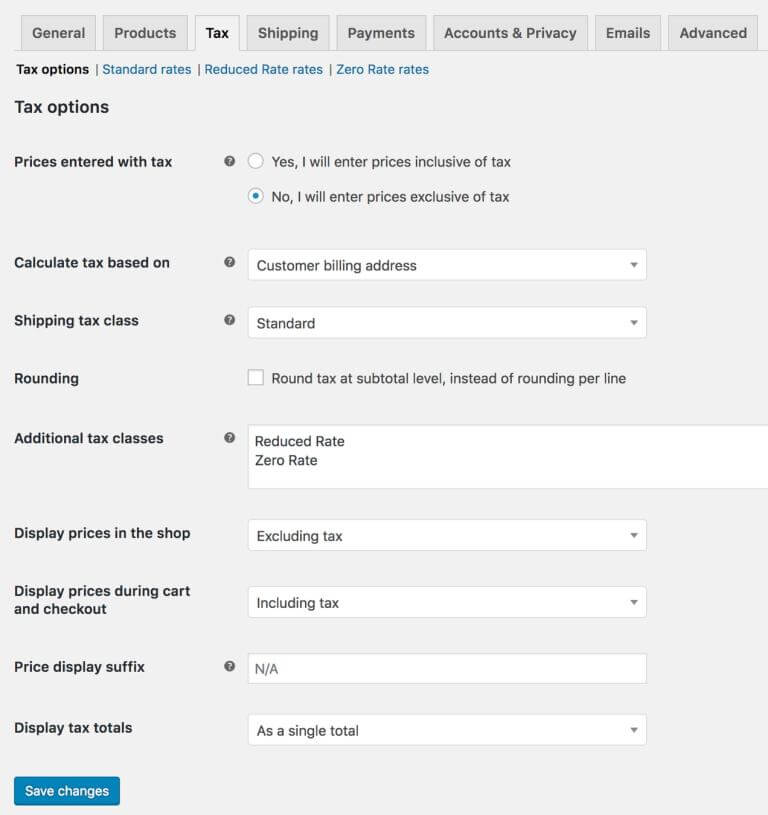
To set up taxes for your store, go to Online Store → Settings → Tax. You can choose to enter prices for products with or without tax, select the address you’d like to base tax calculations on, and set your tax rates, among other things. You’ll need to do some research into tax rates based on where you’re located and the places you sell to and consider consulting a professional.
Set up shipping
Navigate to Online Store → Settings → Shipping. There, you can set up shipping zones (areas where products are delivered) and options like free shipping.
You may find some of the simple shipping rate setup from our knowledgebase website.
Or you can use some of the shipping services like ShipStation, Easyship or EasyParcel and integrate into your ecommerce website so that it will auto calculate the shipping fee based on your product dimension and product weight.
Design and functionality
Once you’ve wrapped up the above steps, your store essentials are ready to go. But, depending on your business and products, you may want to take care of a couple of other things.
The eCommerce website template that you chose took care of a lot of the design work for you, which you can customize to fit your brand and store. You can also add visually-appealing content to any page with the drag-and-drop page builder. You can also easily change your layout to other design available in SmartSeller template library.
Add eCommerce App
SmartSeller provides most of the basics that you will need for your online store. But you may also want some additional functionality. We call those function “App”.
App are similar to a modular function. For example, if you want to use Stripe as your payment gateway, first you will need to activate the Stripe App.
We have a lot of App in our App library that can integration with your online store at SmartSeller. But, it is important not to get too carried away. You see, installing too many can slow down your site and confuse your customers. Instead, focus on ones that is really needed and that can boost the user experience overall.
Create additional pages
Once your SmartSeller account is created, all of the important pages are already created (e.g. a homepage, about page, contact page, return policy page, checkout page, etc…). But all the contents in the pages are just a demo contents and you might want to change accordingly to use on your ecommerce website.
Custom design
The UI (user-interface) of SmartSeller platform is built with user-friendly in mind. Most of the customization can be easily be done by yourself.
But if you do not want to waste your precious time on doing the customization work, you can contact us for customization work.
